Falling Sakura Book Nook Lights: Cozy DIY Shelf Insert
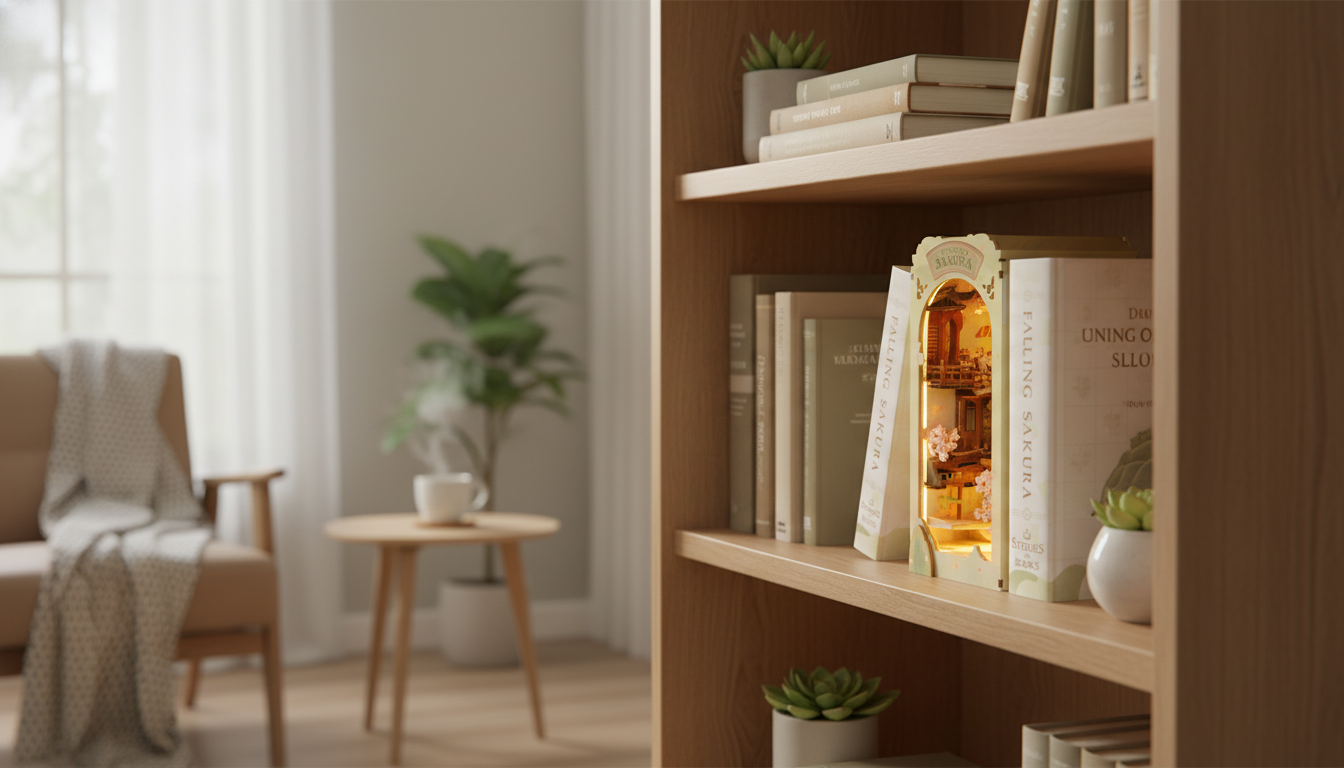
Falling Sakura Book Nook with Lights: DIY Wooden Bookend Decoration for a Cozy Shelf Scene
Turn a regular bookshelf into a tiny springtime alleyway with the Falling Sakura Book Nook with Lights. This DIY wooden bookend-style insert adds depth, warm illumination, and a calming cherry blossom vibe—ideal for readers, crafters, and anyone who loves miniature decor. The finished piece creates a “peek-through” moment between novels, like a small hidden street that glows after sunset.
What a book nook is and why the Falling Sakura theme stands out
A book nook is a decorative insert that slips between books to create a miniature scene—like a small stage set framed by your book spines. Instead of a flat bookend, it forms a dimensional “window” on the shelf, giving the illusion of depth and distance.
The Falling Sakura theme stands out because it’s soft and atmospheric rather than bold or industrial. Cherry blossom-inspired details feel right at home in bedrooms, reading corners, and gentle, pastel decor schemes. When the integrated lights are switched on, the layers become more visible and the whole insert doubles as a warm accent glow for evening reading.
Best of all, it’s not just decor—it’s a satisfying build. The assembly experience is part of the charm: you get a relaxing hands-on project and a display piece that looks far more intricate than the time it takes to complete.
What’s included and what may be needed before starting
Most kits arrive with pre-cut wooden pieces designed to assemble into a layered corridor-style scene. The “falling blossom” effect is typically created through stacked cutouts that add depth as your eye travels inward. Lighting components are included, but the exact type and power method can vary by batch, so it’s smart to confirm the details on the product page before starting.
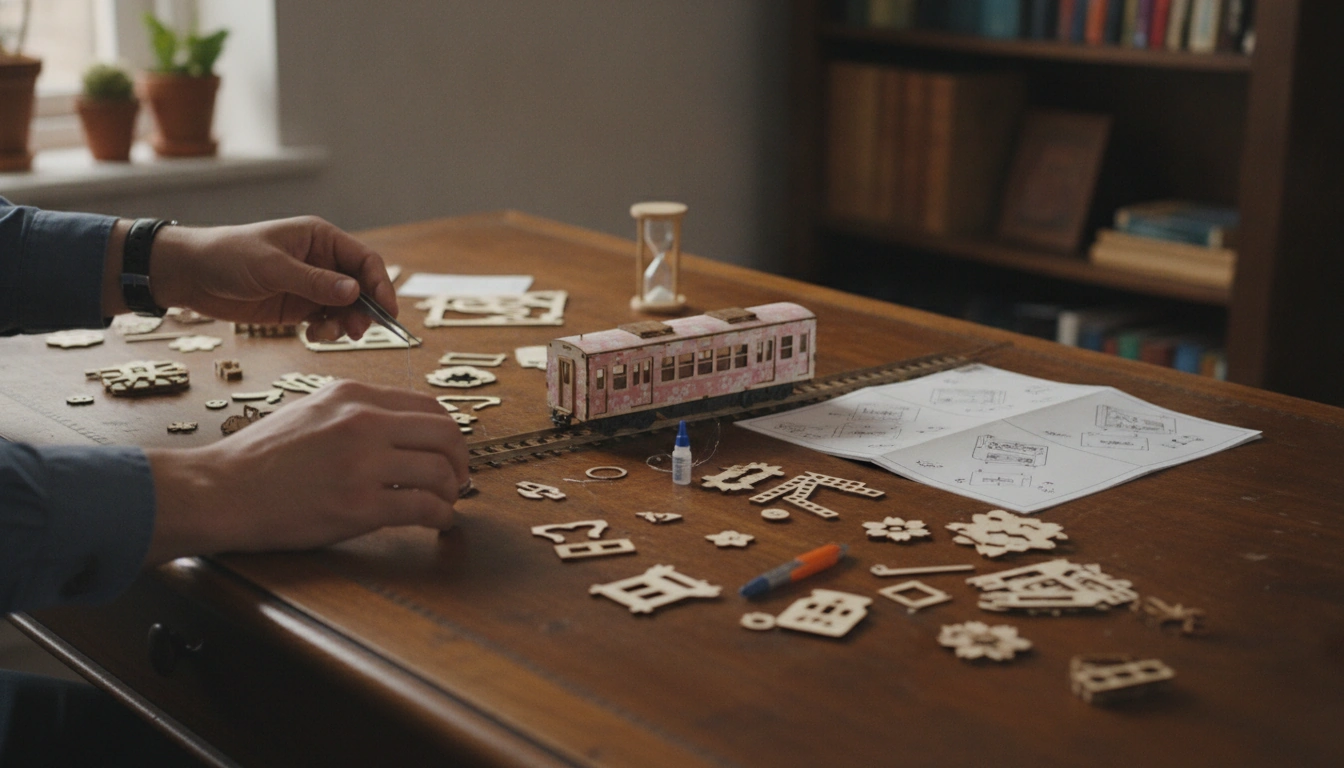
A few common extras can make the build cleaner and less stressful: craft glue, tweezers for tiny pieces, a small file or sandpaper for snug tabs, and a precision knife for minor cleanup. A clear, well-lit workspace and a tray (or small containers) for sorting parts help prevent mix-ups and keep the project moving smoothly.
Quick prep checklist
| Item | Why it helps |
|---|---|
| Craft glue (wood/PVA) | Stronger, cleaner joins than tape; allows alignment time |
| Tweezers | Places small details without smudging glue |
| Sandpaper/file | Smooths tabs/edges for a snug fit |
| Small clips/rubber bands | Holds parts while glue cures |
| Soft cloth | Wipes dust before final assembly and lighting install |
Build overview: steps that keep the project neat and aligned
For the cleanest finished look, start by dry-fitting the major panels. This quick “no glue” check helps confirm orientation and prevents reversed layers—one of the easiest mistakes to make when the design is symmetrical.
Next, work from the base and structural frame outward. Once the foundation is square, the decorative layers tend to line up naturally and the scene reads as deeper and more realistic. As you add each layer, use minimal glue along visible edges (a toothpick makes application precise) so you don’t end up with shiny spots or squeeze-out on the front-facing details.
Plan the lighting early. Install and test the lights before sealing off any sections that could block access to wiring or a battery compartment. Taking five minutes to confirm the switch works and the glow falls where you want it can save a full disassembly later. Finally, let key joints cure before stacking additional layers; rushing can cause subtle drifting or warped walls that become obvious once the lights turn on.
Lighting tips for the best glow on the shelf
If the kit uses batteries, treat access like part of the design. Keep the battery compartment and switch reachable so replacements don’t require dismantling the scene. For households with children, battery safety matters—especially with small, powerful button batteries. For practical guidance, review the American Academy of Pediatrics battery safety information at healthychildren.org and the U.S. Consumer Product Safety Commission button battery hazard resources at cpsc.gov.
Where it looks best: styling ideas for different spaces
Care, safety, and longevity
A closer look at the Falling Sakura Book Nook with Lights
The Falling Sakura Book Nook with Lights – DIY Wooden Bookend Decoration is designed to sit between books like a functional, dimensional bookend insert. Its softly lit interior highlights layered details and adds ambient shelf lighting that feels cozy rather than harsh.
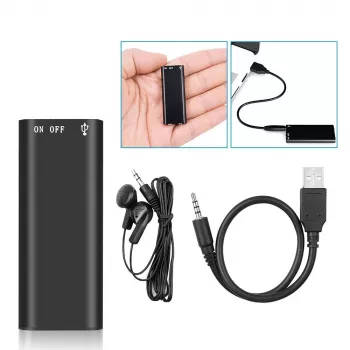
For a themed gift bundle, pair it with a small accessory for readers and note-takers—like the Mini 8GB Voice Recorder Digital Audio MP3 Player USB Pen with Earphones for capturing book club thoughts, writing ideas, or quick reminders without opening a laptop.
Product snapshot
| Detail | Value |
|---|---|
| Product | Falling Sakura Book Nook with Lights – DIY Wooden Bookend Decoration |
| Price | 35.51 USD |
| Availability | In stock |
| Best for | Bookshelves, reading corners, giftable DIY decor |
FAQ
Is the Falling Sakura book nook beginner-friendly?
Yes—patient beginners usually do well with it. Dry-fit the main panels first, build in layers, and use simple tools like craft glue and tweezers to keep small details neat and aligned.
How are the lights powered and can the batteries be replaced?
The power method can vary by batch, so check the product listing details before you begin. During assembly, plan the placement so the switch and any battery compartment stay accessible for easy replacement.
Will it fit on a standard bookshelf between novels?
Book nooks are meant to slide between books like a decorative insert, but shelf sizes vary. Measure your available shelf height and depth, and leave a little clearance for the frame plus any lighting access or wiring.





Leave a comment