Marble Fire Highlighting Brush: Soft Glow to Full Shine
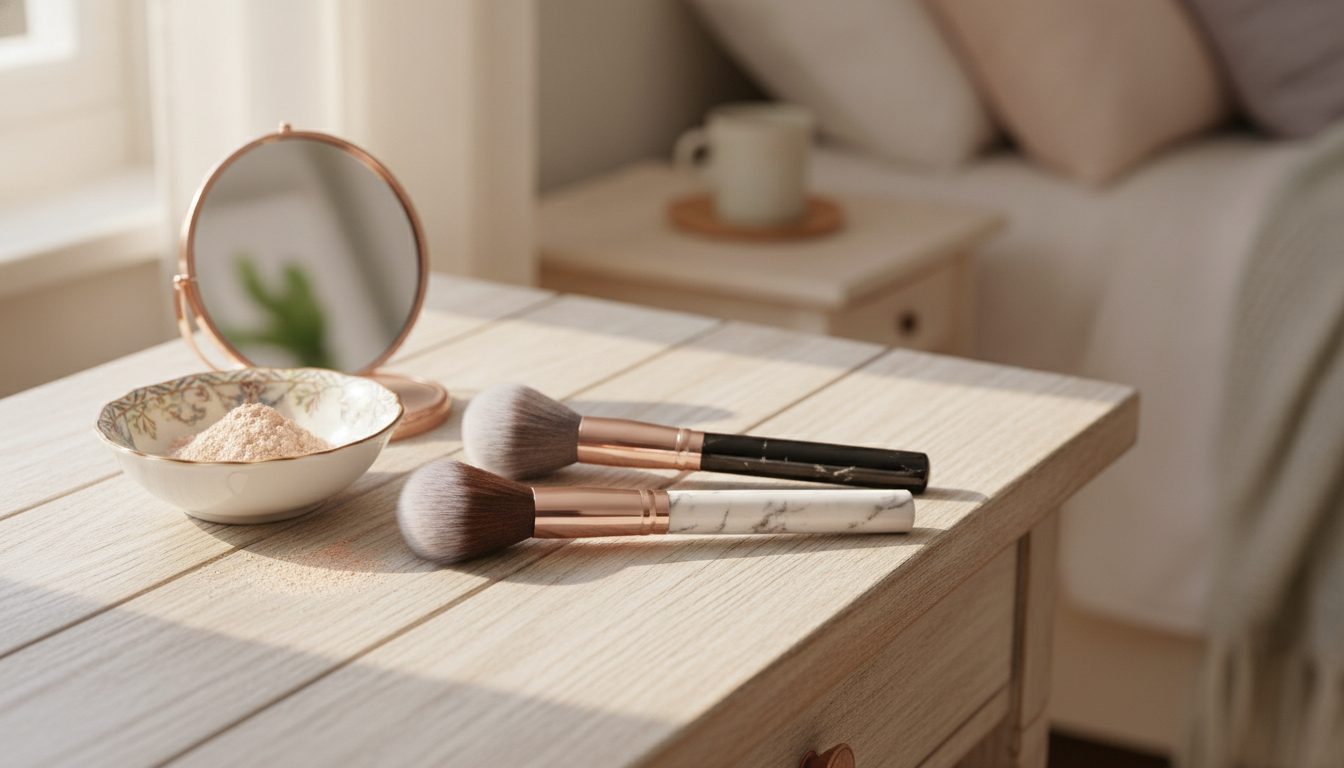
Marble Fire Highlighting Makeup Brush
A highlighting brush can make the difference between a soft, seamless glow and a patchy streak of shimmer. The Marble Fire Highlighting Makeup Brush is designed to place and diffuse highlighter with control, whether the goal is a subtle sheen on the cheekbones or a more intense glow for photos and nights out.
Because highlighter sits on the highest points of the face—areas that naturally catch light—tool choice matters. A brush with a balanced feel and a shape that “fits” common highlight zones helps keep placement intentional, blending quick, and the final finish smooth.
What this brush is made to do
- Applies powder highlighter with a controlled sweep for a smooth finish.
- Diffuses product to avoid harsh edges and visible lines of shimmer.
- Targets common highlight zones: cheekbones, brow bone, bridge of the nose, cupid’s bow, and inner corners.
- Works well for quick touch-ups when paired with a compact or small highlighter pan.
Best uses by formula and finish
Highlighter formulas vary from silky satin powders to sparkly loose pigments, and each one behaves a little differently on a brush. Matching technique to texture is the fastest way to get that “lit-from-within” finish without emphasizing pores or texture.
- Powder highlighter: use light pressure and build gradually to keep sparkle from clumping.
- Baked or satin formulas: buff in small circles to blend sheen into the base makeup.
- Loose highlighter: tap off excess and use short, controlled strokes to prevent fallout.
- For cream or liquid highlighter: a brush like this can still help set and blend by layering a matching powder highlighter on top (use a clean brush to avoid caking).
Quick guide to placement and technique
| Area | Technique | Result |
|---|---|---|
| Top of cheekbone | Sweep upward toward the temple, then lightly buff the edge | Lifted, seamless glow |
| Brow bone | Use the tip/edge with minimal product | Brightened eye area |
| Bridge of nose | Single gentle stroke down the center (avoid the sides) | Natural-looking highlight |
| Cupid’s bow | Short, precise tap-sweep | Fuller-looking lip shape |
| Inner corner | Tiny press and micro-blend | Awake, brightened look |
How to get a soft glow (everyday technique)
For daytime makeup, the most natural-looking highlight is usually the one that’s almost invisible until it catches the light. The goal is a smooth gradient—brightest at the high point, softly fading into the surrounding skin.
- Start with a small amount of product; tap the brush handle to loosen excess before touching the face.
- Place product first, then blend the edges outward so the brightest point stays where light naturally hits.
- Use a clean, fluffy face brush to soften any line if the highlighter looks too concentrated.
- For textured skin, choose finer-milled highlighter and use lighter pressure to avoid emphasizing pores.
If skin feels dry or looks a little powdery, applying a light moisturizer and letting it absorb before makeup can help highlighter sit more evenly. For general skin care guidance, see the American Academy of Dermatology Association’s everyday skin care tips.
How to build intensity (photos and evening)
Camera flash and dim lighting can “eat” glow, which is why evening highlight often needs a slightly stronger application. The key is building in thin layers so the shine stays smooth and reflective rather than chunky.
- Layer in thin passes instead of loading the brush once; this keeps shimmer even and reflective rather than chunky.
- Set a small “spot” of highlight on the cheekbone peak, then blend around it to maintain brightness.
- Pair with a setting spray after application to reduce powderiness and help the highlight melt into the skin.
- If fallout occurs, dust it away with a clean brush before it mixes with foundation.
When switching between products (especially face powders and eye products), keeping tools clean helps reduce muddiness and uneven payoff. For a broader overview of cosmetic safety and labeling, the FDA’s cosmetics resources are a useful reference.
Comfort, control, and handle design
- A stable handle improves precision when placing highlight on smaller areas like the nose and inner corners.
- Grip the brush closer to the ferrule for maximum control; hold it farther back for a softer and more diffused finish.
- A decorative handle can still be practical when it balances well in the hand and doesn’t slip during use.
For extra control on the cheekbone, angle the brush so the edge follows the bone structure, then soften the top edge with tiny buffing motions. This creates definition without leaving a visible stripe of shimmer.
Cleaning and care
Who it suits best
Shop in-stock picks
- Marble Fire Highlighting Makeup Brush — $3.01
- Stylish Boys’ Corduroy Hooded Pullover with Pocket — $7.82
- Bluetooth MP3 MP4 Player with 4.0″ Touchscreen — $34.67
FAQ
Can this brush be used for contour or blush?
It can work for targeted placement (especially subtle blush or precise contour), but it’s primarily shaped for highlight; for large cheek blush or broad bronzing, a fuller brush is usually faster and more even.
How often should a highlighting brush be washed?
Weekly cleaning is a solid baseline for frequent use; wash sooner if the brush starts to feel stiff, looks dusty, or if product payoff becomes uneven.
Why does highlighter sometimes look streaky with a brush?
Common causes include too much product on the bristles, pressing too hard, a very glittery formula, or not blending the edges; tapping off excess and finishing with light buffing typically fixes it.


Leave a comment