2L Water-Repellent Handlebar Bag That Converts to Shoulder
2L Water-Repellent Bicycle Handlebar & Shoulder Bag for Commuting and Day Rides
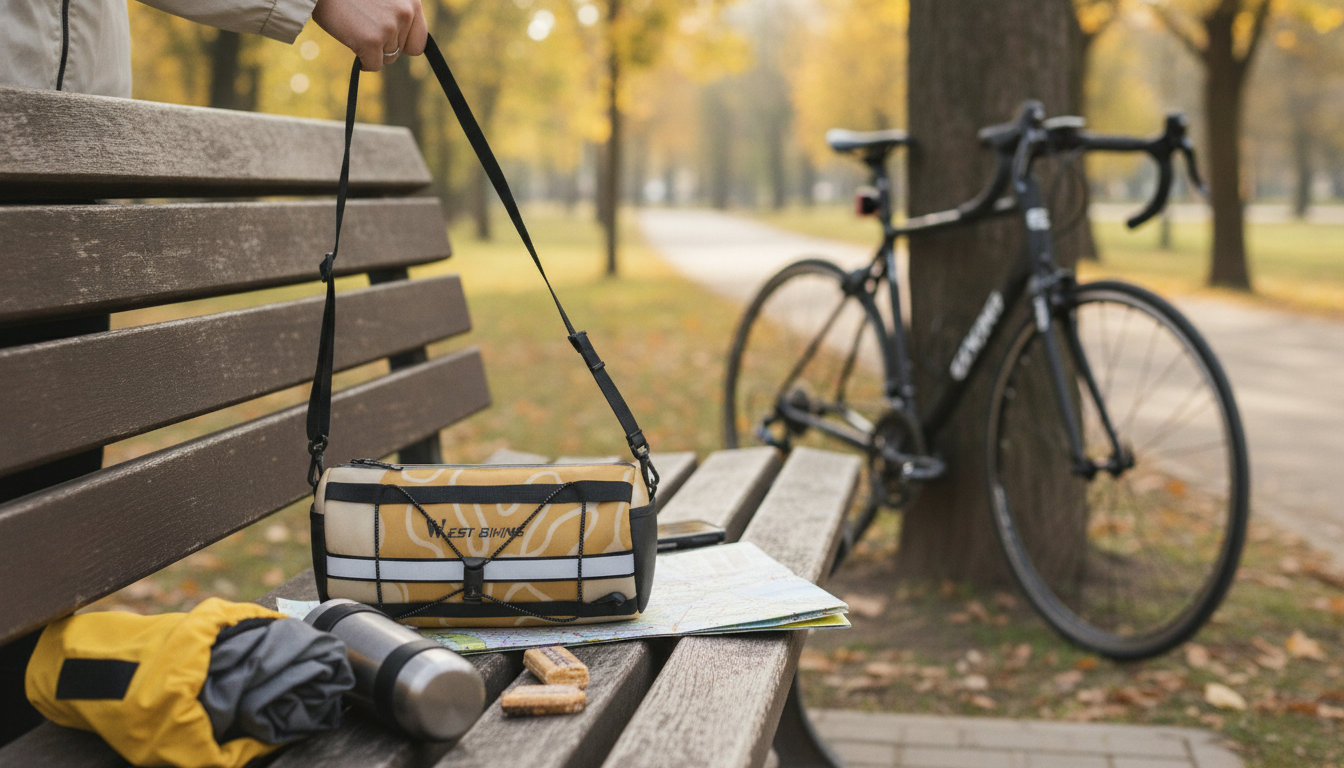
A compact handlebar bag that doubles as a shoulder bag keeps essentials close, organized, and protected from light rain and road spray. This guide covers practical use cases, fit and mounting basics, what to carry in 2L, and how to get the most from a water-repellent setup on everyday rides.
What This Bag Is Best For
A small front bag shines when the goal is convenience without the bulk of panniers or a backpack. A 2L size is especially handy for daily riding where you want quick access and easy off-bike transitions.
- Quick-access storage for phone, wallet, keys, small tool kit, and snacks without opening panniers or a backpack
- Commuting where off-bike carrying matters: detach and wear it as a shoulder bag for short errands
- Road, hybrid, and city bikes that benefit from keeping weight centered at the front for small loads
- Light rain and splash conditions where a water-repellent outer helps reduce soak-through
If you’re shopping for a compact, do-it-all option, the 2L Water-Repellent Bicycle Handlebar & Shoulder Bag is designed for exactly these everyday scenarios.
Capacity and Everyday Packing Ideas (2L)
Two liters sounds small until you pack it intentionally. The best approach is “ride essentials first,” then add small comfort items, while keeping the shape slim so it sits cleanly on the bar.
- Core carry: smartphone + slim power bank + keys + cardholder/cash + lip balm/sunscreen stick
- Ride-ready add-ons: tire levers, patch kit, mini multi-tool, spare tube (folded), CO₂ inflator or compact mini pump (if it fits the internal shape)
- Weather extras: light gloves, packable cap, small microfiber cloth for lenses
- Organization tip: keep frequently used items in the quickest pocket/compartment and heavier items (tools) closest to the handlebar side to reduce sway
- Avoid overstuffing: bulging compartments can press on cables or interfere with hand positions
Example 2L Loadouts
| Use case | What to pack | Why it works |
|---|---|---|
| Commute | Phone, wallet, keys, earbuds, small sanitizer | Fast stops and easy carry into shops |
| Fitness ride | Phone, gel/snack, mini tool, tire levers, patch kit | Essentials without a jersey pocket overload |
| Casual day ride | Phone, compact camera, snack, light gloves | Keeps valuables accessible and protected from spray |
For riders who like entertainment on longer commutes or lunch rides, a compact device such as the Bluetooth MP3 MP4 Player with 4.0″ Touchscreen can fit alongside the basics—just protect electronics with an inner pouch when weather turns.
Mounting and Fit: Handlebar, Cables, and Stability
A handlebar bag should feel like part of the bike: centered, stable, and clear of controls. A few minutes of setup prevents most annoyances later.
- Check handlebar space first: ensure enough straight bar area for straps/mount points without pinching brake/shift housing
- Cable clearance: turn the handlebars fully left and right to confirm the bag does not pull or kink cables
- Stability check: after mounting, lift the front wheel slightly and shake the bar to confirm the bag does not slide or rotate
- Riding position: confirm the bag does not interfere with hands on tops/hoods (drop bars) or grips (flat bars)
- Off-bike transition: practice detaching and wearing as a shoulder bag so it becomes a quick routine at stops
As a general safety reminder, keep your bike and accessories in safe working condition and stay informed on equipment guidance from authoritative sources like NHTSA’s bicycle safety resources.
Water-Repellent vs Waterproof: What Protection to Expect
Water-repellent fabrics are ideal for the “surprise sprinkle” and road mist kicked up by tires. They slow down wetting and help water bead off—but they’re not the same as a fully waterproof, sealed system.
- Water-repellent fabrics help shed light rain and splashes, reducing immediate soak-through
- Seams and zippers are common entry points; sustained downpour can still allow moisture in
- Best practice for valuables: use a small zip pouch or lightweight dry bag for phone and documents during heavy rain
- After wet rides: wipe down and air-dry fully before storage to preserve coating performance
- If riding frequently in storms, consider pairing with a rain cover or packing items in waterproof inner bags
Riding in wet conditions also changes braking distance and visibility. For practical tips on staying safe when the roads are slick, see Bicycling Magazine’s wet-weather riding guidance.
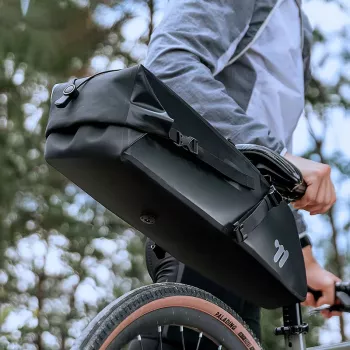
Comfort and Carrying as a Shoulder Bag
The shoulder-bag mode is what makes this style especially commute-friendly: you can lock up, detach, and walk away with your essentials in one motion.
If you carry small valuables or notes for work, a slim device like the Mini 8GB Voice Recorder Digital Audio MP3 Player USB Pen with Earphones is the kind of item that benefits from front-of-bike storage—easy to grab and less likely to be forgotten at a stop.
Care, Cleaning, and Long-Term Use
Product Snapshot
At-a-Glance Details
| Item | Detail |
|---|---|
| Product | 2L Water-Repellent Bicycle Handlebar & Shoulder Bag |
| Capacity | 2L |
| Availability | In stock |
| Price | $26.51 USD |
FAQ
Will a water-repellent handlebar bag keep my phone dry in heavy rain?
Not reliably. Water-repellent fabric sheds light rain and spray, but seams and zippers can let moisture in during a sustained downpour, so place your phone in a small waterproof pouch or lightweight dry bag for heavy rain.
Does a handlebar bag affect steering or handling?
With a small 2L load, handling changes are usually minimal, but overpacking or a loose mount can cause sway. Keep heavier items close to the handlebar side and recheck tightness so the bag doesn’t shift mid-ride.
How do I prevent the bag from rubbing cables or shifting while riding?
Mount it on a clear, straight section of bar and confirm full left/right handlebar turns without tugging on housing. Tighten attachment points firmly, then recheck fit after the first few rides as straps settle.


Leave a comment